
When it comes to garage door spring repair, understanding the basics can save you time, money, and potential injury. Garage door springs are crucial components that counterbalance the weight of the door, making it easy to open and close. If they break, your garage door won’t function properly. In this guide, we’ll cover everything you need to know about garage door springs, including how to measure and replace them.
Why Garage Door Springs Are Important
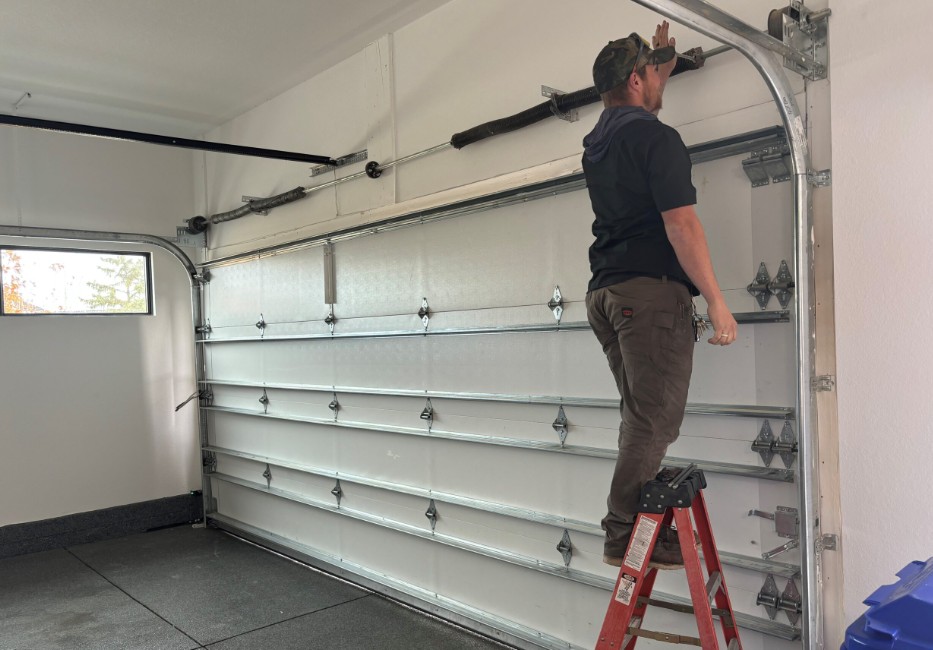
Garage door springs bear the weight of the door, allowing you to lift it with minimal effort. There are two main types:
- Torsion Springs– Mounted above the door, these springs twist to generate lifting force.
- Extension Springs– Located on the sides of the door, these stretch to provide tension.
When a spring breaks, the door becomes heavy and difficult to lift. Ignoring a broken spring can damage other components, such as the opener or cables. That’s why timely garage door spring repair is essential.
Signs Your Garage Door Springs Need Repair
Before attempting a repair, check for these warning signs:
- Loud snapping noise(indicates a broken spring)
- Door won’t stay open(loss of tension)
- Uneven movement(one side may be weaker)
- Visible gaps or wearon the springs
If you notice any of these issues, it’s time to inspect and possibly replace the springs.
How to Measure Garage Door Springs
Before replacing a spring, you must know How to Measure Garage Door Springs correctly. Here’s how:
For Torsion Springs:
- Measure the length– Unwind the spring and measure end-to-end.
- Check the wire size– Use a caliper to measure the thickness of the spring wire.
- Determine the inside diameter– Measure across the center of the coil.
- Note the wind direction– Left-wound or right-wound (this affects installation).
For Extension Springs:
- Measure the relaxed length– Stretch the spring slightly and measure its length.
- Check the diameter– Measure the width of the coils.
- Count the number of coils– Helps determine the spring’s strength.
Using the correct measurements ensures you buy the right replacement spring.
DIY Garage Door Spring Repair: Steps to Follow
Replacing garage door springs can be dangerous due to high tension. If you’re inexperienced, consider hiring a professional. However, if you decide to proceed, follow these steps:
Tools You’ll Need:
- Winding bars (for torsion springs)
- Vice grips or locking pliers
- Socket wrench set
- Safety glasses & gloves
Steps for Torsion Spring Replacement:
- Disconnect the opener– Unplug it to prevent accidents.
- Release tension– Use winding bars to slowly unwind the old spring.
- Remove the spring– Loosen the set screws and slide it off the shaft.
- Install the new spring– Ensure it’s the same size and wind direction.
- Rewind the spring– Use winding bars to add tension (follow manufacturer’s turns).
- Test the door– Lift manually to ensure smooth operation.
Steps for Extension Spring Replacement:
- Secure the door– Use clamps to prevent sudden movement.
- Detach safety cables– Remove them before taking out the old spring.
- Unhook the spring– Carefully release it from the pulley system.
- Install the new spring– Attach it securely and reinstall safety cables.
- Test the door– Check for balance and smooth movement.
When to Call a Professional
While DIY repairs can save money, garage door spring repair is risky. The springs are under extreme tension, and improper handling can lead to serious injury. Consider hiring a professional if:
- You’re unsure about the correct spring size.
- The door is heavy or unbalanced.
- You lack the necessary tools or experience.
Conclusion
Understanding garage door springs and how to measure them is key to maintaining a functional garage door. Whether you attempt a DIY fix or call a professional, timely garage door spring repair ensures safety and smooth operation. Always prioritize safety and use the correct tools when working with high-tension springs.